Flash Expansion Board
Flash and debug firmware on the Expansion Board
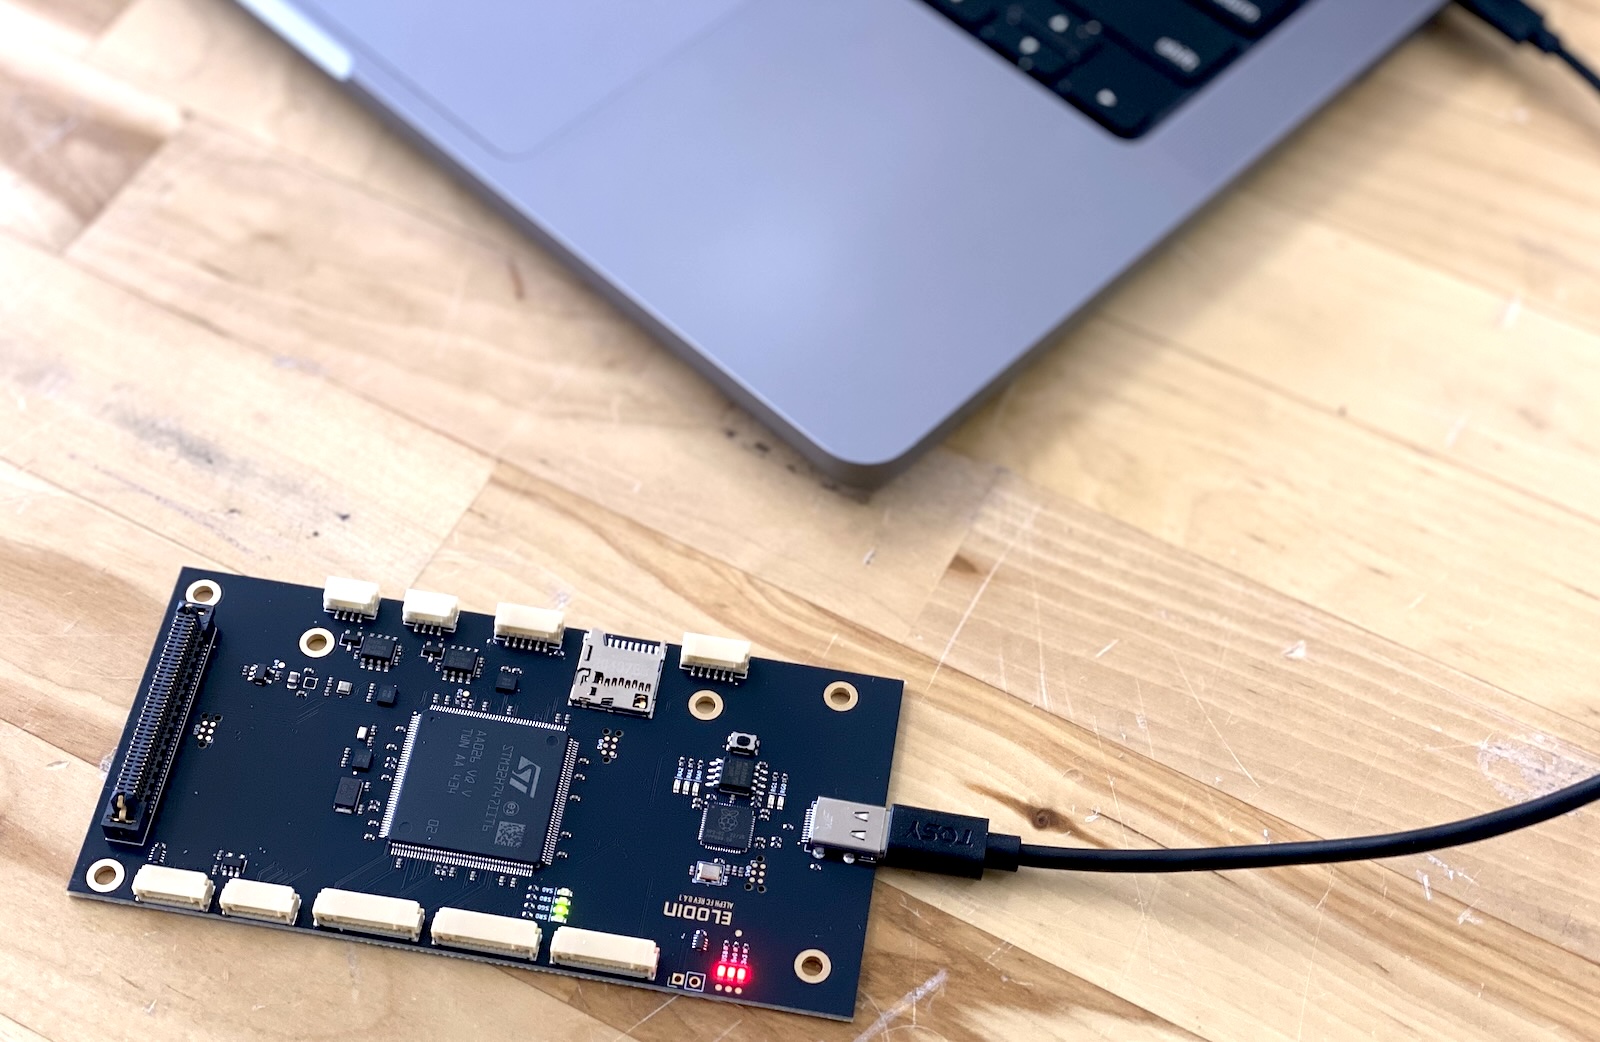
The expansion board has a built-in RP2040-based programmer that is pre-flashed with debugprobe firmware that allows it to function as a CMSIS-DAP probe. This makes it easy to flash new firmware onto the FC board over USB using standard tools such as probe-rs or OpenOCD.
Building the expansion boards default firmware
Clone the elodin repository and navigate to the fsw directory:
The fsw directory contains several example projects, navigate into the sensor-fw directory & follow the build instructions there. The
last step is the command cargo rrb fw, which will build the firmware and flash it to the FC board. You should see the same sensor output as before
when connected to the Base Board, or alternatively can follow the instructions in the sensor-fw directory readme to collect sensor data
from the included SD card.
Flashing from the Orin NX via deploy.sh
Aleph can also flash the STM32H7 from the Orin NX during a normal NixOS deploy. This is the preferred bring-up path for fsw/c-blinky because it packages the firmware into the Aleph closure, deploys it to the target, flashes it over the board-to-board link, and forwards the MCU log output into Elodin-DB.
From the aleph/ directory:
The deploy activates a c-blinky-flash one-shot service on Aleph. That service:
- Uses the packaged
firmware.binfrom the deployed closure - Stops
serial-bridgeso/dev/ttyTHS1is free for flashing - Drives
BOOT0over carrier GPIO9 and pulsesNRSTover carrier GPIO11 - Configures
/dev/ttyTHS1for19200 8E1 - Probes the STM32 ROM UART bootloader with
stm32flash - Writes the application image to
0x08000000 - Resets the STM32 back into the flashed application
- Starts
serial-bridgeagain so Linux can ingest the MCU logs
The open-source expansion board uses the direct GPIO11 reset path above. The older custom reference board used an I2C expander for NRST, so bring-up notes from that flow need to be translated accordingly.
Verifying the Flash
On the Aleph host, check the flash service:
Then confirm the serial bridge is receiving the MCU log frames:
If the flash unit reports Timed out waiting for STM32 bootloader on /dev/ttyTHS1, the STM32 did not answer the ROM bootloader probe and the board-to-board flashing path still needs hardware-level debugging on that Aleph.
c-blinky emits INFO log messages such as c-blinky boot, LED: ON, and LED: OFF over the board-to-board UART.
Viewing Logs in the Editor
serial-bridge forwards the MCU lines into Elodin-DB as LogEntry messages on the aleph.stm32.log stream.
Open the Editor against the Aleph database and add a log panel such as:
log_stream "aleph.stm32.log" name="STM32 c-blinky"
You should see the c-blinky boot message followed by alternating LED: ON and LED: OFF entries.
Manual Flashing on Aleph
If you need to bypass deploy-driven flashing and run the tool directly on the Orin NX:
# or, if you already have a raw binary: